Good morning how are you? I am here today with my latest creation, this time based on this months challenge, and I have to say this was one of those ones which there was no plan and a one point I wasnt sure it would evolve into anything else.
Have you ever started a layout like that?

Enjoy and don't forget to upload your entries here:
https://www.facebook.com/media/set/?set=oa.737268101330316&type=3
https://www.facebook.com/media/set/?set=oa.737268101330316&type=3

#85/365

To kick things off I need to make my paint colours, this time I want something shimmery, sparkly and to do that you need Colour Mica powder and Gum Arabic....
It doesnt matter if its is the powdered or liquid Gum Arabic but you do need it, its a binding agent for your mica, you will find if you do it with just water once dry it the micas will rub off, the Gum Arabic is like a glue keeping things in place.
All shimmer based mists have this ingredient in them, to make sure your amazing colour just doenst rub off.
So the general rule of thumb is equal Gum Arabic to your mica powder and water - warm water works better when mixing your paint.


Now its time to get messy, and this process will take a while as I dont tend to use a heat gum to speed the process up as I find the shimmer from the powder comes up to the surface more and you dont see the under colours.
So I use this time a zen moment and work the paint around the page.


Now if your after more pigment in your mica paints you can add that using the Colour Artist Dye Ink like you can see in the orange section it was a little gold for my liking I wanted more of a orange tone, so I just added a couple of drops in my mica powder mix and it became a richer colour.

Once dry now the messing and arty bit happens, I used a light grey ink for the stamping, you could use black but I am after a ghosting effect rather than something heavy.

I havent mounted the larger Geo Grunge stamp for a reason I allows me when I am stamping to kind of roll it so I get little pockets of details rather than a big crisp image.

Now grab a Stabilo pencil or even a water colour pencil, this is the time to doddle over the top of details in the ghosted stamping.

You can add details in, more circles more crosses, add larger cirlces by tracing around different size circle objects.....
You can wet the pencil work to bleed it out or, just smug it with your finger.

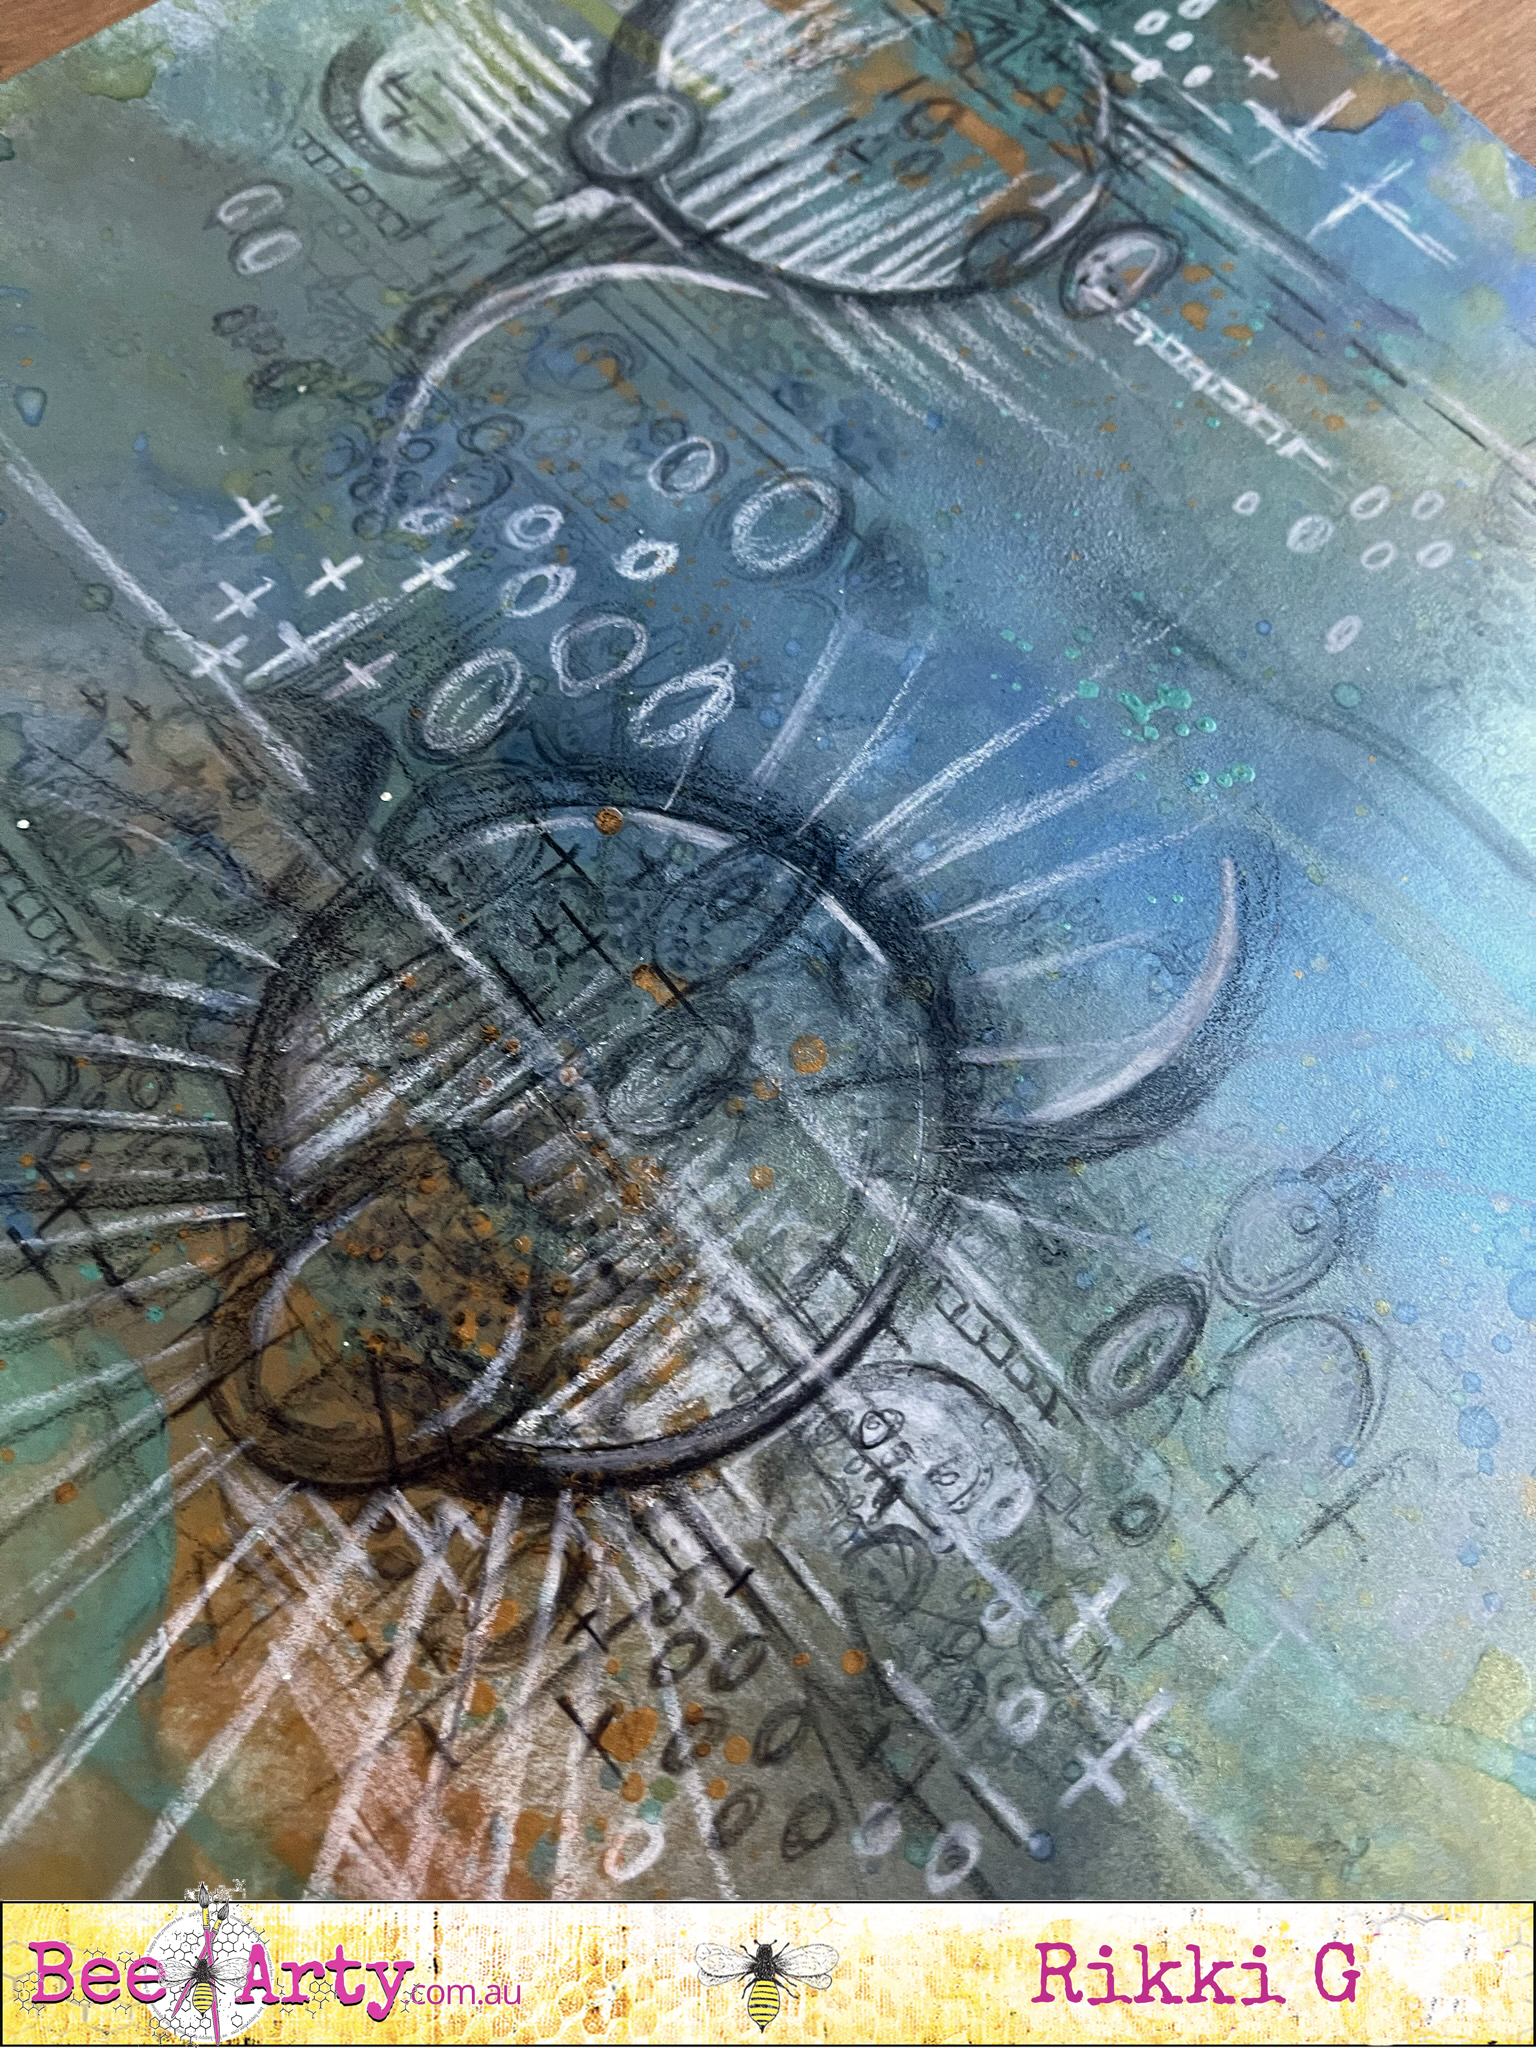


Now you have your background, time to build the layout.....

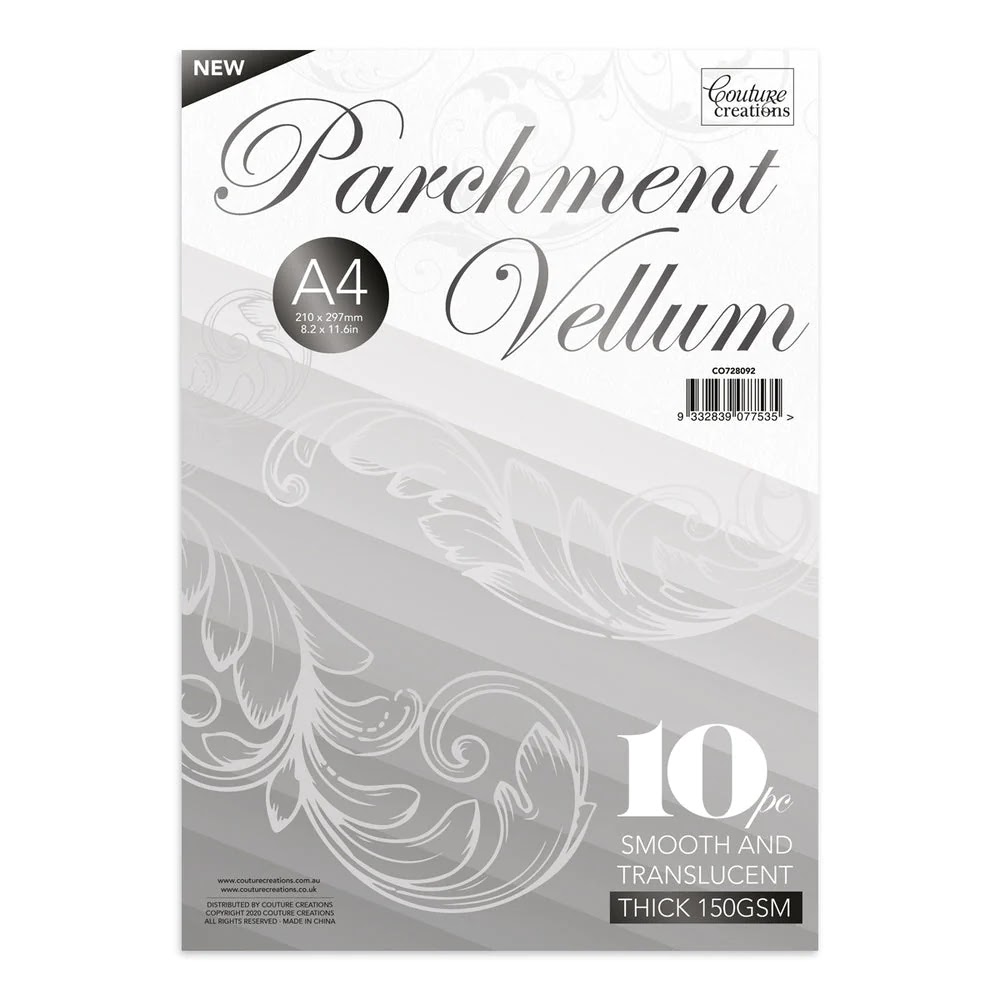
Rip some vellum into strips and grab the sewing machine, change your stitching up to give a grunge effect.

Splash some Bling Shimmer spray and Black Artist Dye ink to tie your layers together, dont forget to cover your photo.


The rest of the layout is just chipboard, metal charms and art stones, I used Tim Holtz Oxides on the chipboard to make it look like rust and when you splatter with your Artist ink and Shimmer spray your get some amazing water bubble effects.


I hope this has inspired your to have a play and you still have time to enter our challenge....
Till next time have a creative day
Rikki G


Mica Powder - Sage

Mica Powder - Polar